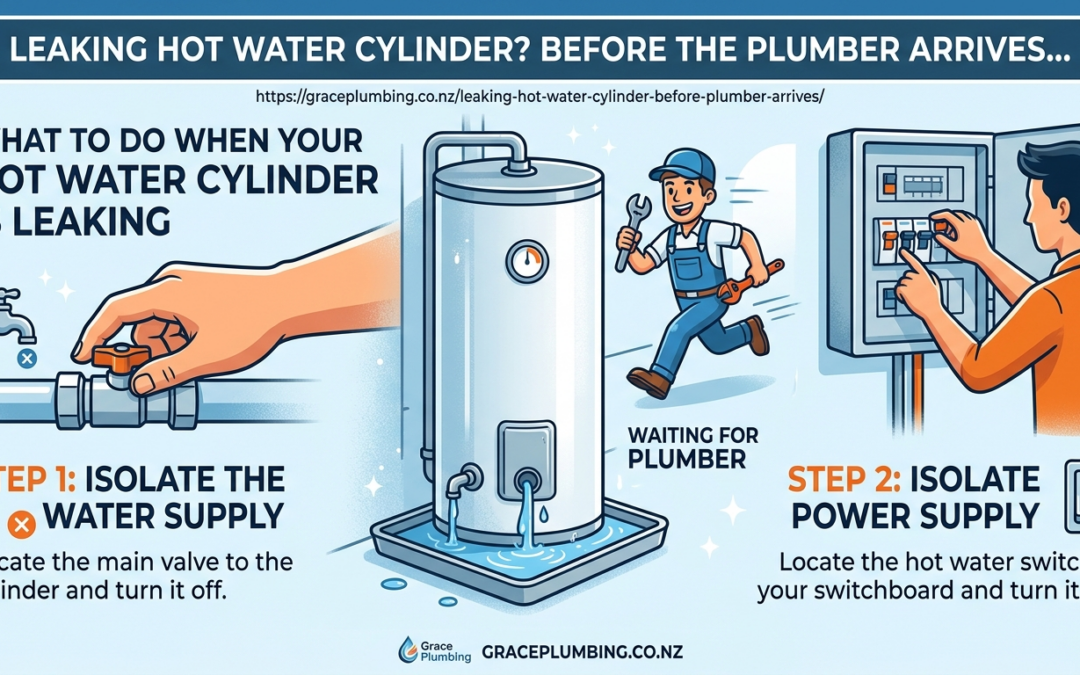
A leaking hot water cylinder needs attention straight away. Whether you’ve spotted a drip, a puddle near the base of the unit, or water coming from a valve, acting fast can prevent serious damage to your home. Most Auckland homeowners aren’t sure what to do in those...
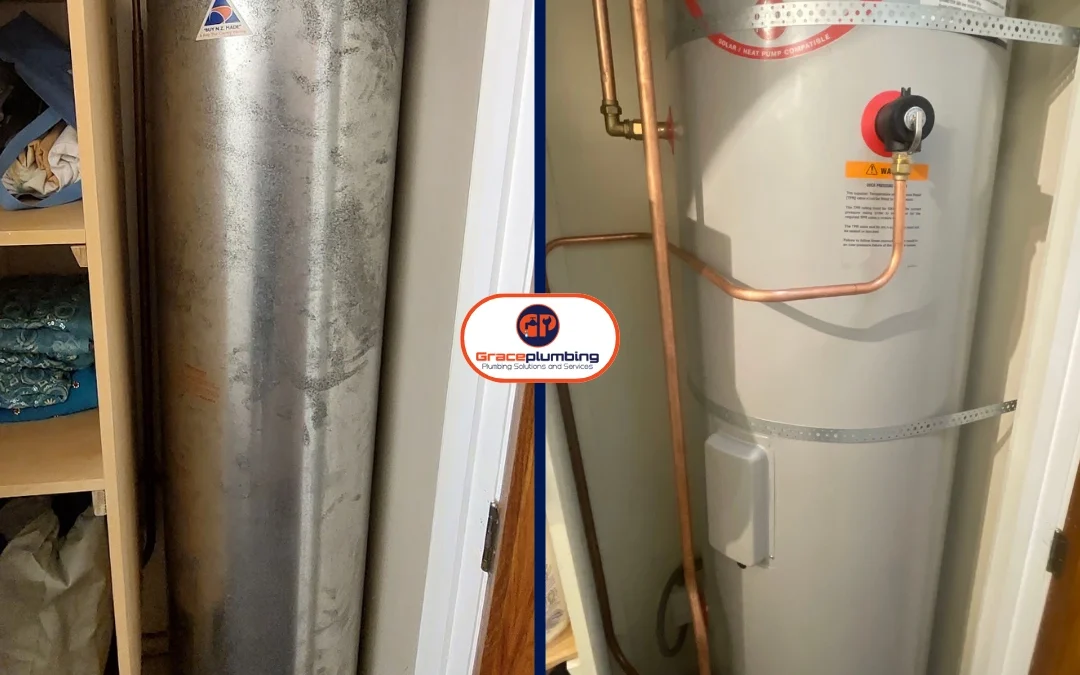
A hot water cylinder stores and heats the water your household uses every day. Most Auckland homeowners never think about it until it fails. That is a problem. A cylinder that fails without warning means cold showers, water damage, and an expensive emergency call-out....
Electric and gas hot water cylinders work differently, cost different amounts to run, and suit different types of homes. Your hot water system runs every single day, so this choice affects your bills and comfort for years to come. Understanding the differences now...
There’s nothing quite like jumping in the shower and getting a blast of cold water when you were expecting warmth. Or turning on the hot tap and waiting… and waiting… and nothing happens. When your hot water cylinder starts playing up, it’s tempting to...
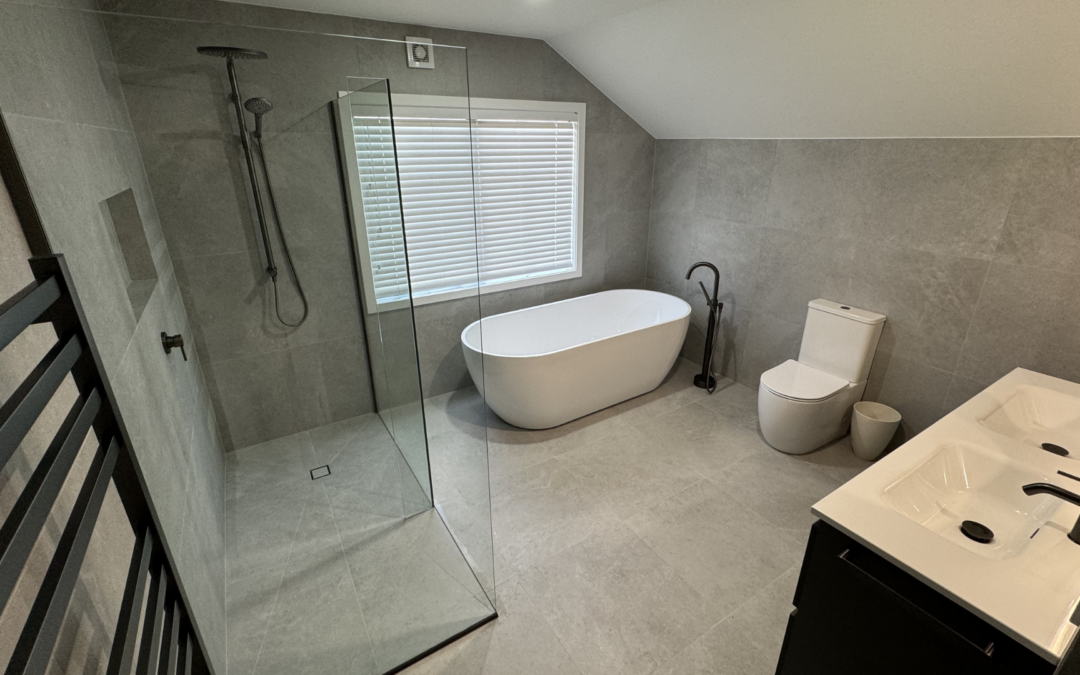
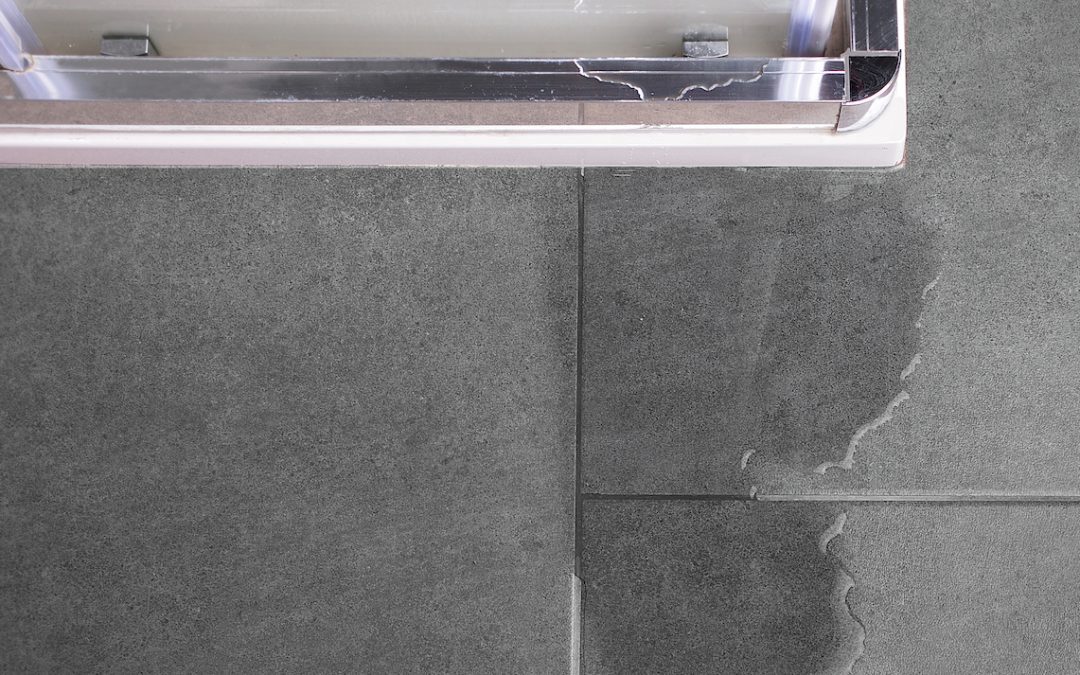
If you don’t get it sorted quickly a leaking shower can cause all sorts of damage to your home. Identifying exactly where and why your shower is leaking can be tricky – especially if the leak is behind the wall. The worst thing you can do with a leak is ignore...
Like any system in your home, your pipes, sinks, toilets, water heater, and other plumbing fixtures will suffer wear and tear over time. Having your plumbing inspected regularly with a plumbing maintenance check is a good way to keep things running smoothly and...